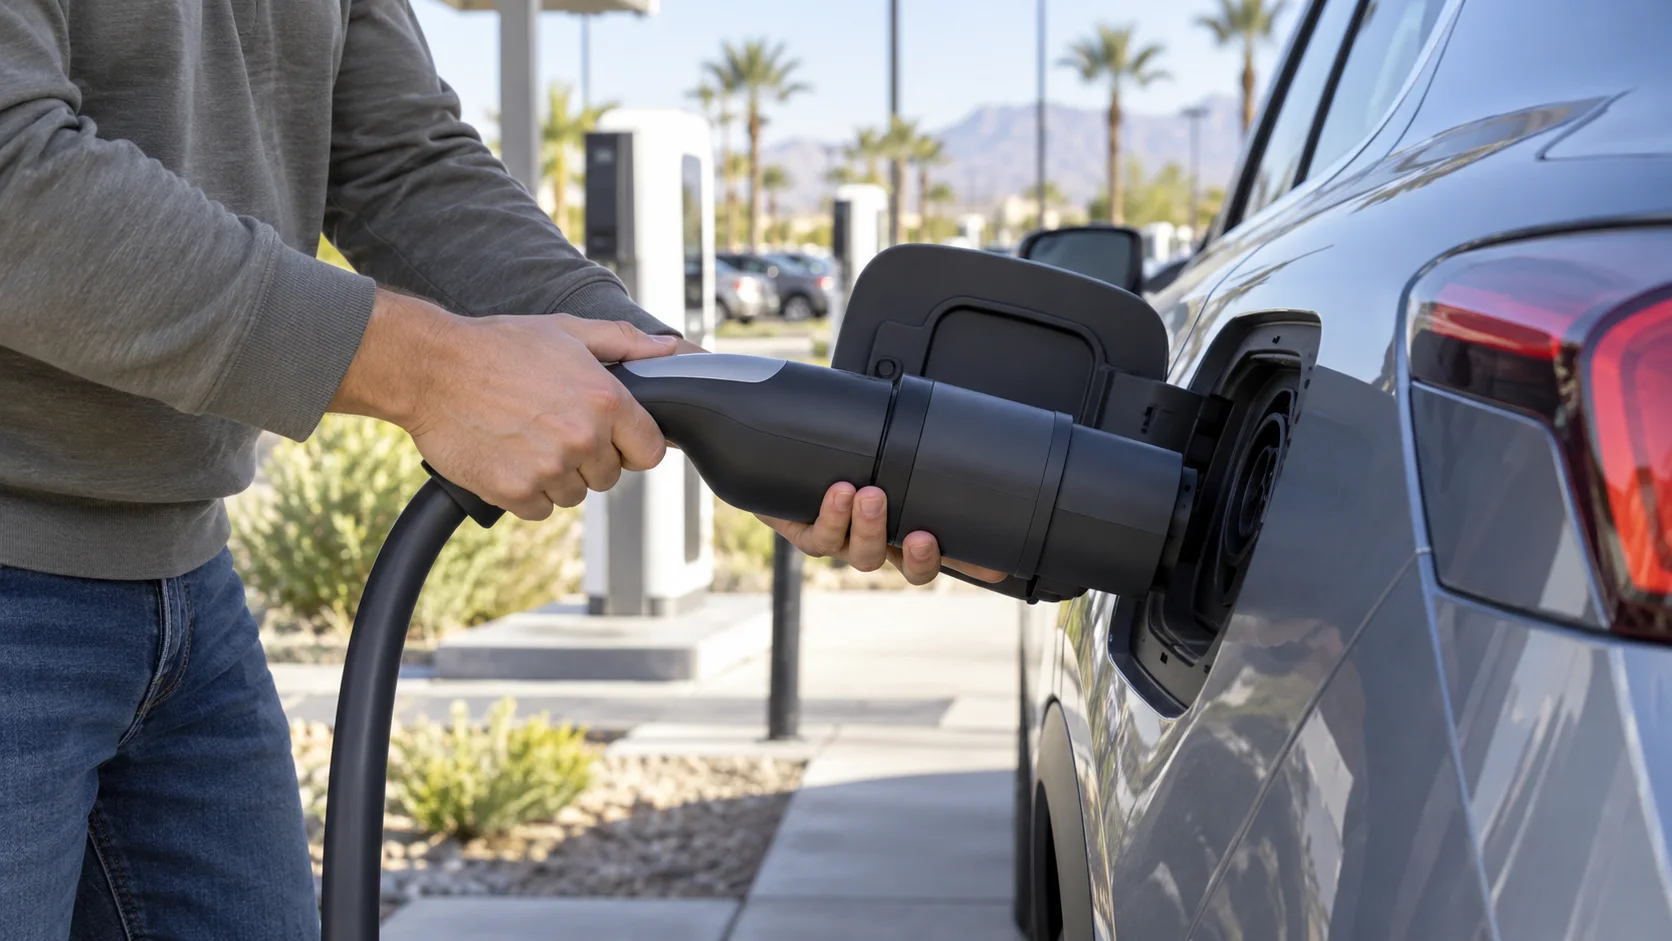
A Tesla charging adapter that seems stuck can be caught at either of two joints. The public charging handle can remain joined to the adapter, or the adapter can remain locked in the Tesla inlet after the handle comes away. Identify which joint is holding before you pull. The normal path is to stop charging, unlock the vehicle, and use the controls Tesla documents for that connection. The emergency cable comes last.
First, identify what is actually stuck
At a public station, the connection has three parts: the station handle, the adapter, and the Tesla charge inlet. That creates two release points:
- Handle to adapter: The public handle is still seated in the adapter.
- Adapter to vehicle: The Tesla charge-port latch is still holding the adapter in the car.
If all three are still connected, do not test the joints by yanking the cable. Tesla’s current Model 3 and Model Y manuals say to unlock the car, hold the public handle and adapter together, press the button on the public handle, and pull both outward at the same time. This keeps the assembly together as it leaves the vehicle. See Tesla’s official Model 3 charging instructions or Model Y charging instructions.
If the station handle has already separated and the adapter remains in the Tesla, the vehicle-side latch is the problem. Tesla directs Model 3 and Model Y drivers to use the touchscreen to unlock the charge port. Do not treat the exposed adapter as a grip for twisting or prying.
If the handle and adapter have both cleared the car but will not separate from each other, the Tesla inlet is no longer holding them. That is the other joint. Do not put the assembly back into the car merely to gain leverage. Follow the instructions for the exact adapter and charging equipment, or contact the charging network for that stall.
Stop the session and unlock the Tesla
Before any release attempt, confirm charging has stopped. End the session with the station controls, its app, or the Tesla charging screen as applicable. Then unlock the vehicle. A connector that is still carrying a session is not ready for an emergency release.
Next, support the handle so cable weight is not pulling sideways on the adapter. Use the normal two-hand removal method: keep the handle and adapter together, press the public-handle button, and draw the pair straight out. If the handle comes away while the adapter remains, use the touchscreen’s charge-port unlock control and then remove the adapter without twisting it.
This sequence is different from opening a charge-port door that never opened. It is also different from diagnosing a station that says connected but supplies no power. For a failed session, use the checks in public charger connected but not charging. For a broader cable-latch decision tree, see how to free a charging cable stuck in an EV, but let the Tesla manual for your model control the actual release.
Do not jump straight to the manual cable
Tesla describes the manual charge-port release as a last resort when the usual methods do not work. It should not be used while the vehicle is actively charging. Tesla also warns against frequent use because it can damage the equipment.
The order matters. Stop charging. Unlock the car. Try the documented handle and touchscreen methods. Only then consult the exact owner manual for the emergency release.
Do not pull the emergency cable and the charging connector at the same time. Tesla’s instructions say to pull the release cable first, then remove the connector. Stop if orange high-voltage conductors are visible. Do not reach around or touch exposed high-voltage components.
The release location depends on the model
There is no single correct location for every Tesla. Current Model 3 and Model Y documentation places emergency charge-port release access in the rear trunk. Model X also uses rear-trunk access, but its trim and charge-port equipment can differ. Tesla’s Model X charging instructions tell the reader to use the model’s documented access and warn against releasing during charging.
Cybertruck is different. Its release cable is behind the left-side bed panel rather than in a rear trunk. The official Cybertruck charging instructions say to use that cable only when the usual methods cannot release the charge cable.
Model, model year, market, and equipment can change access details. Open the live Tesla owner manual for the exact vehicle before moving trim. A remembered Model Y procedure is not a Cybertruck procedure, and a video for another build is not a substitute for the manual tied to your car.
Know when to stop
Stop if the port, adapter, handle, or cable is visibly damaged. Stop if you see exposed conductors, smell overheating, or cannot confirm that charging ended. Do not pry against the inlet, lever the adapter sideways, or use tools on the connector pins.
Once the connector is free, check whether the failed session left enough range to continue. If it did not, mobile Tesla charging in the Inland Empire explains the referral option. Charge Pro IE is a referral service. It connects drivers with independent local operators, and the operator quotes and bills the driver directly. Charge Pro IE does not repair charging equipment or set a price or arrival time.
If you are deciding between a charge and a tow after the adapter is removed, towing a dead EV versus a mobile charge lays out that choice.
Frequently asked questions
Why did the public handle come out but leave the adapter in my Tesla?
The handle-to-adapter joint separated before the vehicle released the adapter. Tesla’s Model 3 and Model Y manuals direct you to unlock the charge port from the touchscreen, then remove the adapter. Do not twist it or pry against the inlet.
Should I pull the Tesla emergency release while pulling the connector?
No. Tesla says to pull the release cable first and then remove the connector. Use the manual cable only after normal controls fail, never while charging, and only from the location specified for your exact model.
Is the manual release in the trunk on every Tesla?
No. Model 3, Model Y, Model S, and Model X documentation uses rear-trunk access, with details that can vary. Cybertruck places the release behind the left bed-side panel. Check the live manual for the exact model and year.